
Additional article types
New article types: Podcast, Blog and Webinar.
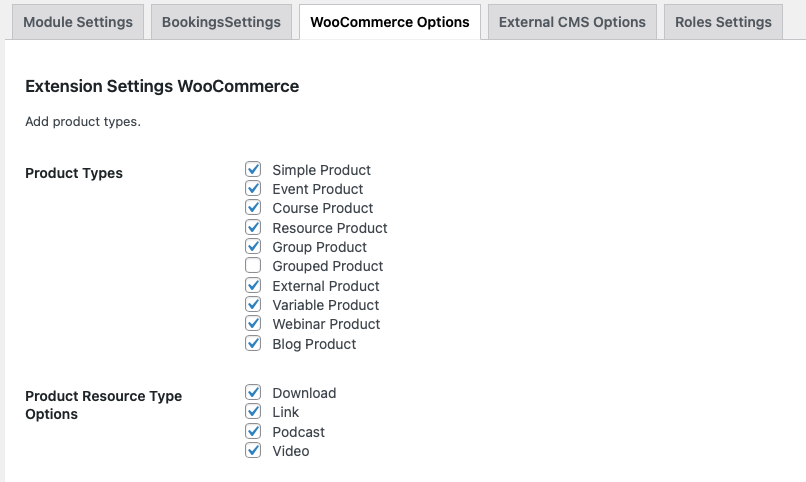
The new types can be activated in optra settings:
How to add new article types
- Login to your admin area
- Go to the settings page tab Optra > WooCommerce Settings.
- Add any or all of the new product/resource types.
- Save your choices.
- New selected article types will now be available to populate.
Creating new articles:
- Create a new Course,Event,Resource
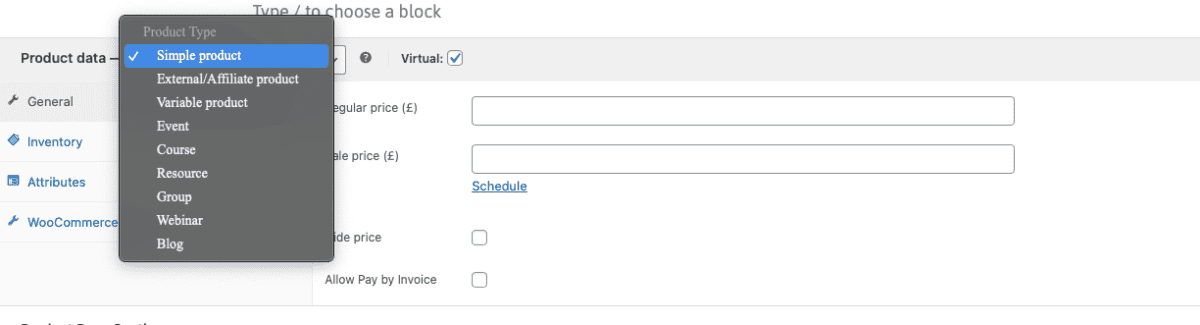
- Go to Product Data Section
- The Webinar and Blog options will be available from the product dropdown section. Fill in the fields as per usual save/update.
- To select a podcast choose product type resource, then select the option podcast. embed you podcast code and save/update.
Send newsletters from different email addresses
- Create a newsletter
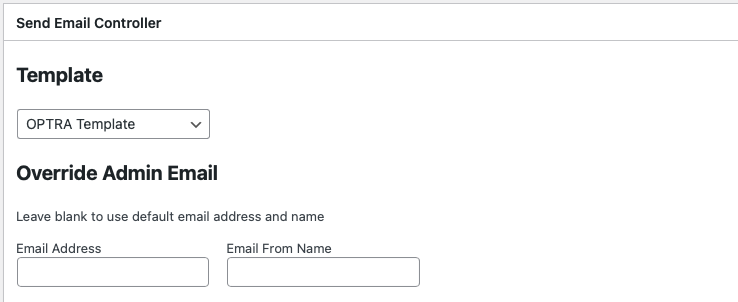
- Goto Send Email Controller section
- Fill in Email address and Email From name to override default, save/update.
- Leave fields empty to use the default.
These changes will only apply to the current newsletter
Cancel your place button in emails
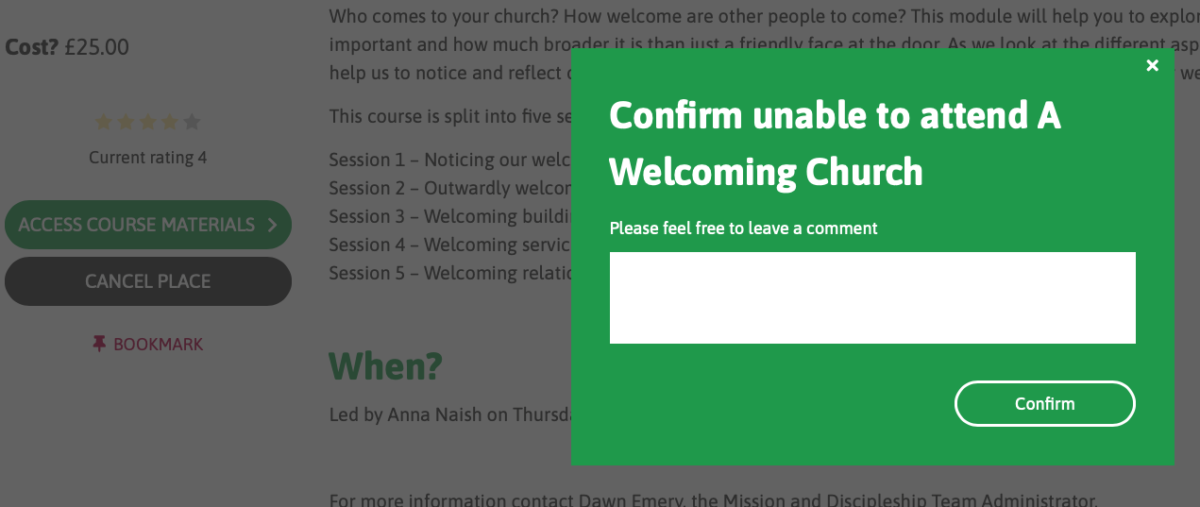
This is an automatic change. When a customer receives a Booking or reminder email, the email will have a button that takes them directly to their purchase in the system, they can then cancel their place using the cancel button
Newsletter auto population section
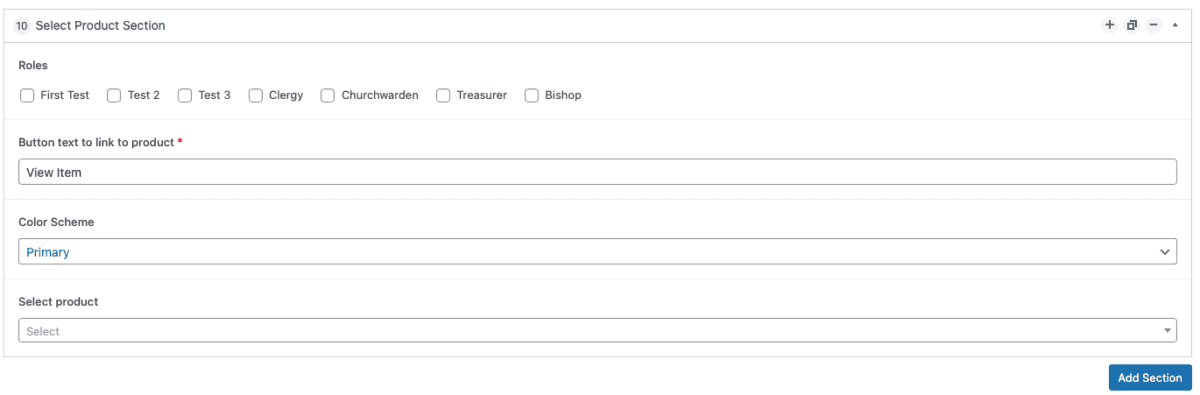
Adding auto populated section to a newsletter:
- Create or edit a newsletter
- Goto Newsletter Constructor Section
- Add a new section and select “Select Product Section”
- Fill in the fields as required and select a product from the dropdown list.
- Save/Update.
No login accessible resources
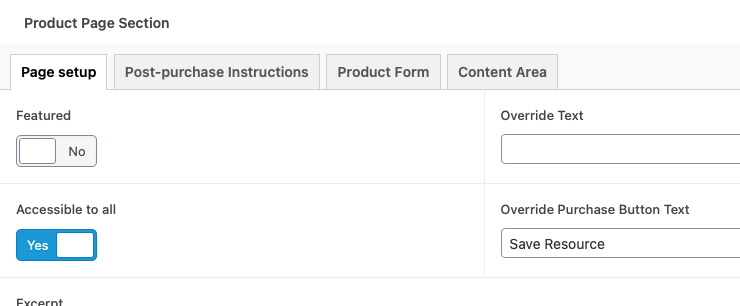
Resource only accessible to all setup:
- Create/edit a resouce product
- Leave post purchase instructions blank
- Place resource in content area
- Hide cost as per “Hide Cost in external products” section
- Goto Product Page Section > Page Setup and activate accessible to all.
- Save/Update
A-Z filtering
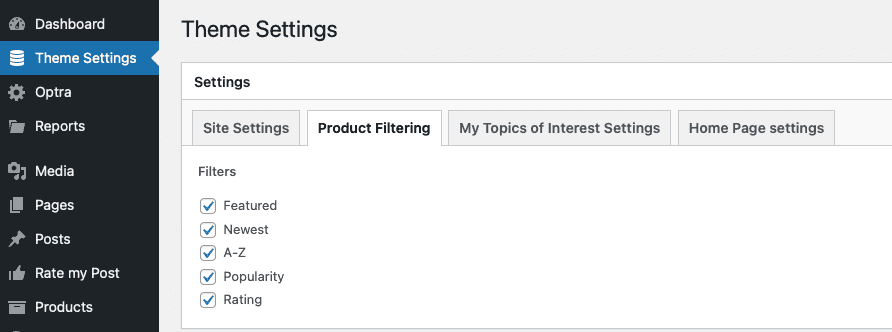
Adding and removing sort by filters on the product list pages.
- Goto the Theme Settings > Product Filtering
- Select the sort by filters required
- Save/Update
Hide Cost in external products
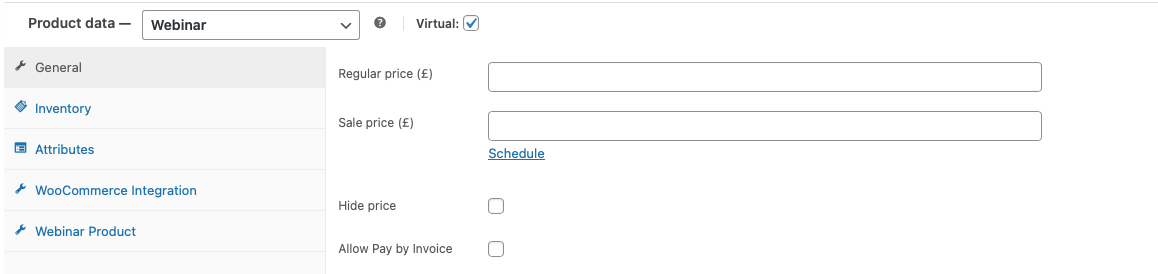
Hide cost
- Create/Edit a product
- Goto product data section
- Select Hide price
- Save/Update
- Price will no longer be shown on the product view
Invoice payments
Allow invoice payments
- Create/Edit a product
- Goto product data section
- Select Allow Pay by Invoice
- Save/Update
- Paying by invoice requires the product to have a price greater than £0.
- Once an item is purchased using pay by invoice, it is treated by the system as if the user has paid.
- The order will be flagged as payed by invoice in the order list (this type of order is searchable)
- The admin team must ensure and update the order once payment has/has not been received by setting the order as completed or cancelled.
- The customer will receive an invoice email that needs to be populated with payment details (WooCommerce email editor)
- The customer will receive an email once shop manager set the order to completed.
Leave a Reply
You must be logged in to post a comment.